
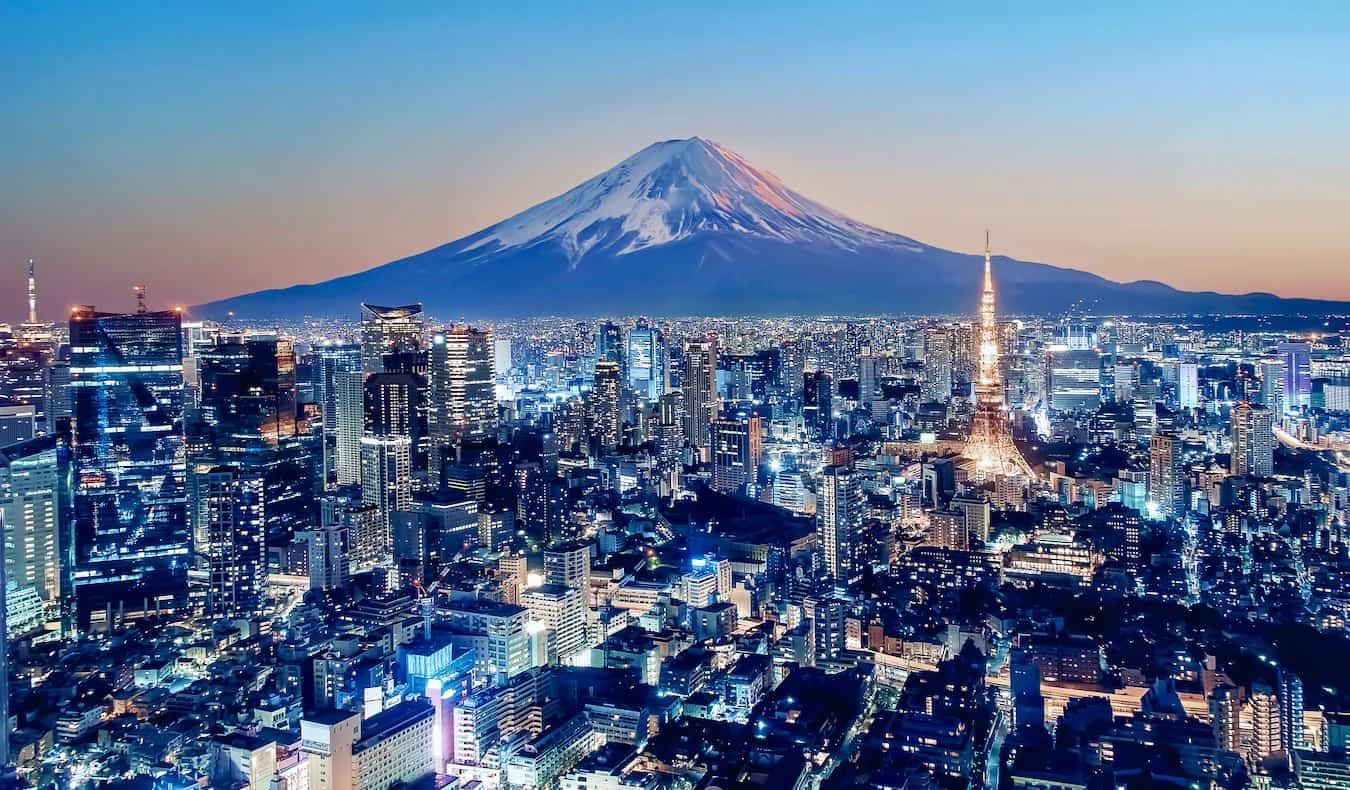
Plan a blue-hour city photograph by balancing ambient light, bright signs, reflections, viewpoint, stability, and respectful access.
Arrive before the color appears
Blue hour is brief, and the strongest composition is easier to find while there is still daylight. Arrive early enough to confirm access, study the skyline, and notice where bright signs or reflections may dominate once city lights switch on.
Balance the sky and the city
The aim is not necessarily to make every area equally bright. Watch the histogram or exposure warnings, protect important highlights, and decide how much shadow detail the image needs. Bracketed exposures can help in some situations, but careful single exposures may produce a more natural result.
Use stability thoughtfully
A tripod can support slower shutter speeds where it is permitted and does not obstruct others. If tripods are restricted, use a stable support, image stabilization, or a higher sensitivity within the limits of the camera. Safety and public access take priority over technical perfection.
Create depth with recognizable layers
Foreground buildings, illuminated streets, mid-distance landmarks, and a distant natural feature can give scale. Keep the main elements separated and check the frame edges for bright distractions. Atmospheric conditions will affect how clearly distant details appear.
Edit for believable light
Adjust color and contrast with restraint. Excessive clarity, saturation, or shadow recovery can flatten the transition between evening sky and artificial light. The final image should preserve the calm interval that made the scene worth photographing.
A practical next step
Use these ideas as a starting framework, then verify the details that depend on location, access, products, weather, regulations, or personal circumstances. A useful plan stays specific to the real setting and changes when better information becomes available.




Comments
Leave a Comment
Your email address will not be published. Required fields are marked *