
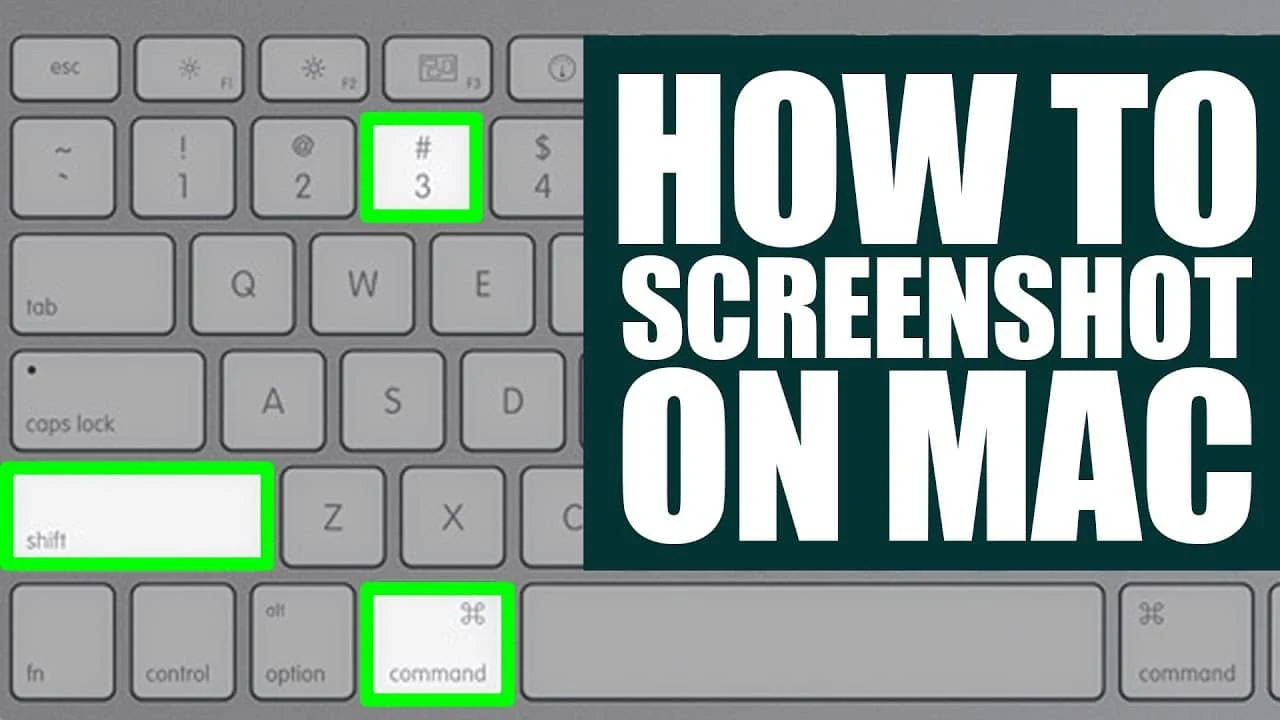
macOS includes built-in keyboard shortcuts for capturing the entire screen, a selected area, a window or a menu. The available controls may vary slightly by macOS version, so Apple’s current documentation is the best reference.
Capture the entire screen
Press Shift–Command–3. A thumbnail may appear in the corner of the screen; select it to edit the image or wait for the capture to be saved.
Capture part of the screen
Press Shift–Command–4. Drag the crosshair over the area you want to capture, then release the mouse or trackpad button. Press Escape to cancel. Hold the Space bar while dragging if you need to reposition the selected area without changing its size.
Capture a window or menu
Press Shift–Command–4, then press the Space bar. Move the camera pointer over the window or menu and click. Holding Option while clicking can exclude the window shadow.
Open the Screenshot controls
Press Shift–Command–5 to open the Screenshot app. Its Options menu can change the save location, set a timer and control the floating thumbnail. Apple notes that the Screenshot app is available in macOS Mojave 10.14 and later.
By default, screenshots are generally saved to the desktop, although the destination can be changed. See Apple’s official screenshot instructions for current details and version-specific notes.




Comments
Leave a Comment
Your email address will not be published. Required fields are marked *